

In another post I briefly described how I made a triple trunk ('sankan' in Japanese) elm bonsai using cuttings. In this post I will show another example. There are a couple of interesting differences between the two plantings!

The little trees started their lives as future bonsai in the fall of 2019. Back then, I took hardwood cuttings from one of my field elms (picture to the right). This tree already had very fine internodes and this feature stayed with the cuttings I took of it.
I used perlite mixed with sharp sand as a substrate for the cuttings and this worked very well. Almost all the cuttings I took grew roots and sprouted the following spring.
Then, I decided to repot the young (and fragile) rooted cuttings in seperate containers. Again, I used a mix of perlite and sand, because I found that cuttings rooted so easily in this mixture. I figured this mix would encourage further root growth in the young little trees.


My collection of rooted cuttings, potted in perlite and sand. Picture taken in spring of 2020. On the right you can see the fine feeder root they produced.

I decided to make clump style bonsai from a couple of the cuttings. The method I used, is simple:
- Choose an uneven number of cuttings of different sizes
- Cut all the roots that are growing straight down or straight up. Usually, cuttings develop a tap root. This is the biggest root that's growing straight down. It's especially important to remove this tap root at this stage!
- Hold all the cuttings close to each other, with their trunks touching right where the roots start to grow. (see picture on the left)
- Fit them together by cutting the roots that grow 'inward'. Keep roots that grow radially away from the trunks.
- Take a piece of 2mm aluminum wire and wrap it in electrical tape or insert it in some aquarium tubing.
- Wrap the piece of wire around the cuttings, fitting them snug together. The tape/tubing should protect the bark for 2 years at least.
- Make sure all the trunks are moving 'away' from each other. They should emerge from one point, and then grow outward.
- Note that in the picture on the right one of the trunks is growing inward. This should be corrected after you wrap the wire. You can just wiggle the small trunk from in between the others.
- Prepare a pot with a well draining soil mix and secure the trees in the pot with a piece of aluminum wire.
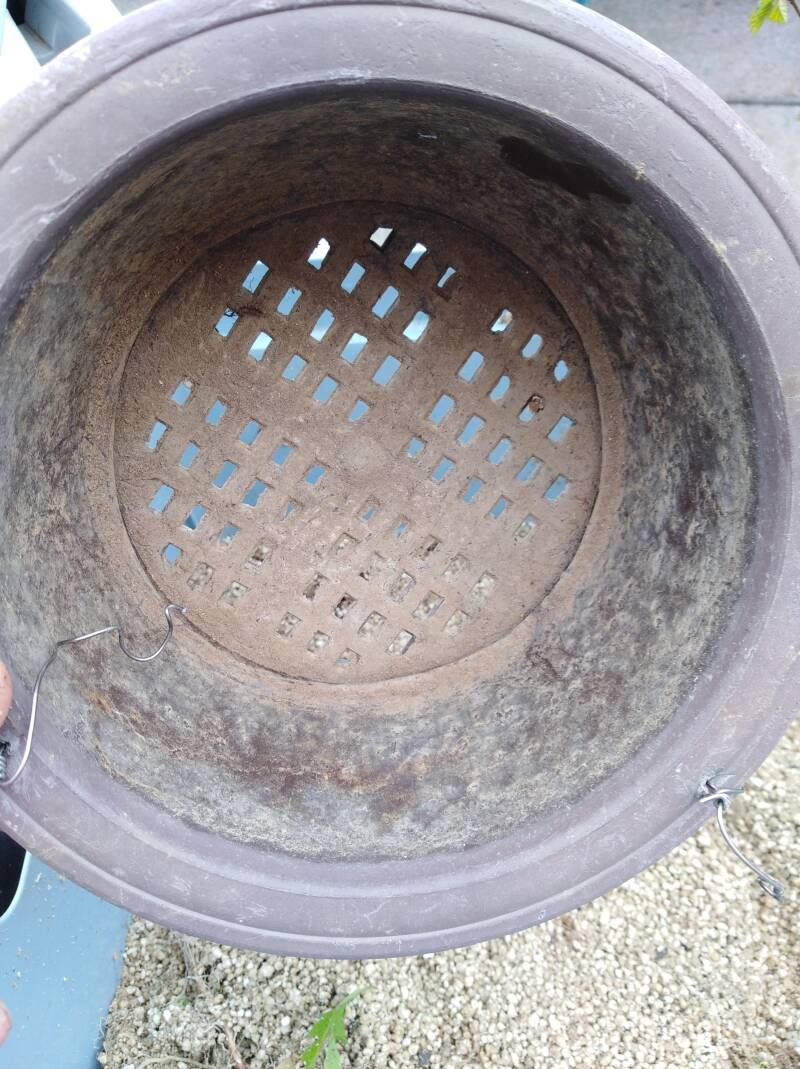
- The pot should have plenty of drainaige holes to prevent the roots from getting water logged. Aeration and oxygen also play a very important role in root development.

the effect of the soil mix on the development
The types of bonsai soil you can use has a big impact on the way the tree develops. In the future, I will definitely write an article about the soil mixes I use. For the sake of brevity, in this article I will only discuss the soil mix I used for two of my elm clumps, and the differences in growth I've noticed.


In the pictures above you can see I planted the cuttings in a mix of akadama and pumice. For those who are new to bonsai and bonsai soil; akadama is a soil used in bonsai consisting of clay granules. Akadama holds water and nutrients really well. It holds its structure for about 2 to 3 years, after which it starts to break down into a clay 'mass'. Pumice is a porous, volcanic rock that also retains water. The advantage of using any type of volcanic rock, mixed with akadama, is that it helps retain an open structure in the soil as the akadama starts to break down and compact. Pumice doesn't break down, as is the case with akadama.
With this planting, I mostly used akadama and a little bit of pumice, in a ratio of aprox. 3 to 1. However, this has proved to be less than ideal for pre-bonsai! Here's why:
Compare the two pictures below. The one on the left is from 2020, when the clump was just put together. The picture on the right was taken after the clump was repotted.


In two years time, the cuttings have ramified a lot. In stead of pushing out long, thick shoots, dozens of small, short shoots have appeared. This would be very good if this were a well established tree, in the final stage of its development. But for pre-bonsai however (cuttings and saplings to be precise), you want explosive growth to help thicken the trunk.
In the second year of development, 4 cuttings died. Looking back, they weren't super healthy to begin with. And when they competed with the larger cuttings, the smallest ones lost!
In of my first blog post - which you can read here - you can see a similar clump style planting, made in the same period. I planted that one in a soil mix with less akadama and more pumice, lava rock and a little bit of organic potting soil, and the growth habit was totally different, c.q. longer shoots, thicker roots and thicker trunks.
Of course, this isn't a scientific research at all, but I've noticed similar growth in trees planted in a mix that consists mostly of akadama. Recently I also saw a discussion on Bonsainut and many people noticed the same effect when using akadama.
My advice: use a mix of akadama, pumice and small lava rock in a ratio of about 1:2:1. This will ensure lots of growth, healthy roots and thicker trunks in a shorter period of time!
Further development
After you've planted the cuttings, make sure they don't dry out. Avoid full sun and wind for the first couple of weeks. After that you can place them in full sun and feed the heavily with fertilizer that's rich in nitrogen. This will also ensure explosive growth, especially in the second year after you've planted them together. By that time, the trunks should have started fusing together. If they're still a bit loose, tie them together again with aluminum wire, just as you did the first time.
I'm planning on pruning this tree after the spring growth has hardened. There are a couple of crossing branches and branches that grow inward. This tree hasn't grown that well in the akadama-soil mix, so to this day, I haven't pruned it at all. I still need to set a basic structure.
Now that this pre-bonsai is planted in a decent soil mix, I'm expecting it to grow better. Next year it'll definitely take off and then I can cut back the trunks to create more taper and movement. I've already wired one of the trunks, since it was as straight as an arrow.
The main goal now, is to create thicker trunks!
I hope you enjoyed reading this article! It's definitely worth your while to take cuttings in the fall and then creating these clump-style plantings. They make beautiful compositions when they're fully developed and it's incredibly rewarding to see the progression when you start from cuttings! And it's super easy too!

Add comment
Comments